I am constantly trying to organize and reorganize my home. Today I decided I was going to get more organized in the kitchen but this will also work for a craft room, office or any room in your home.
#DIY #DIYprojects #womenempowerment #projects #weekend
#DIY #DIYprojects #womenempowerment #projects #weekend
Material List:
9 cube organizer - I got mine at Canadian Tire on sale, love sales :)
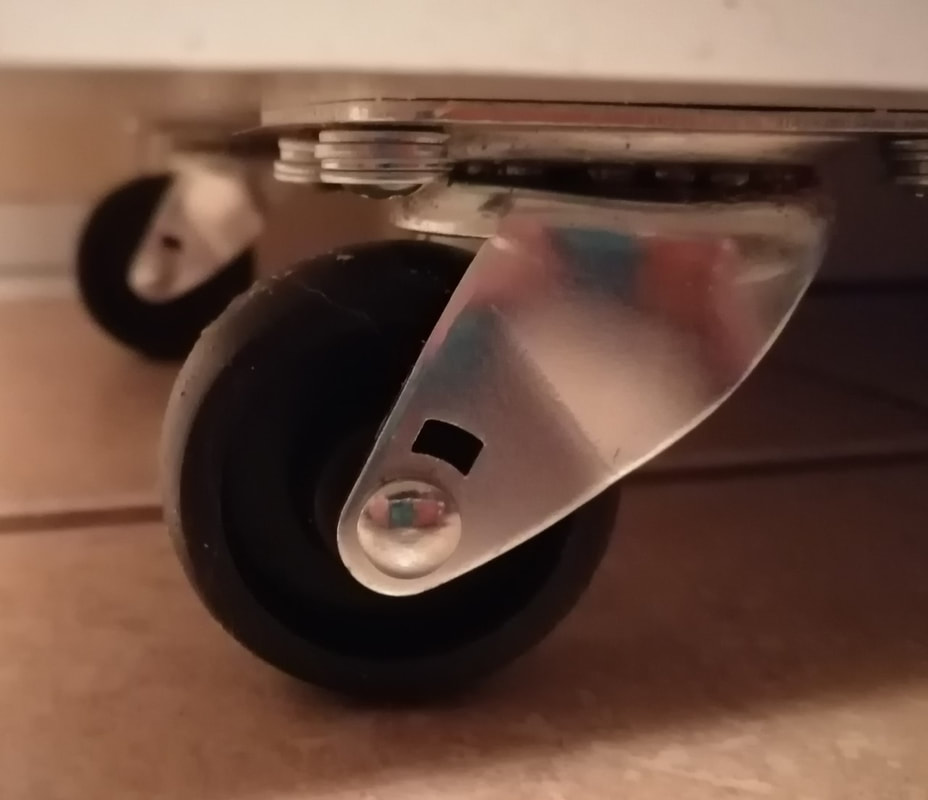
Wheels - I used 4x 2" swivel rubber - I got mine at Home Depot
Handle to pull the unit - I got mine at Home Hardware on sale :)
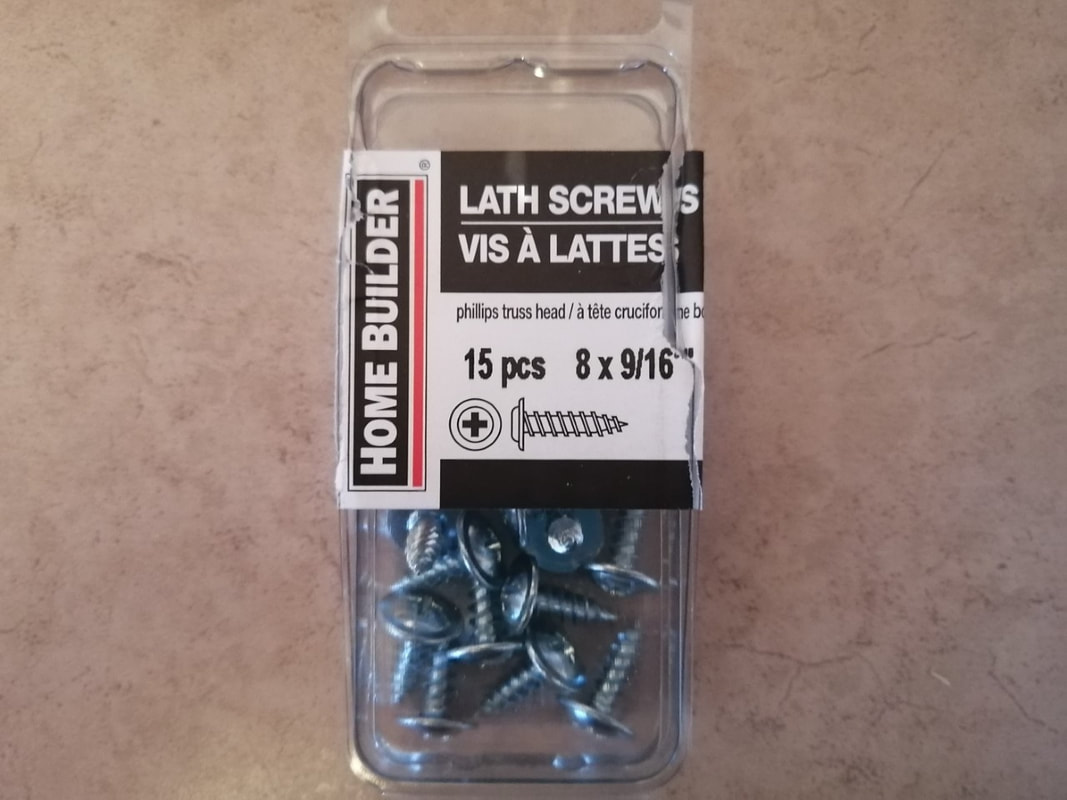
Screws to install wheels and washers if necessary - I got mine at Home Hardware
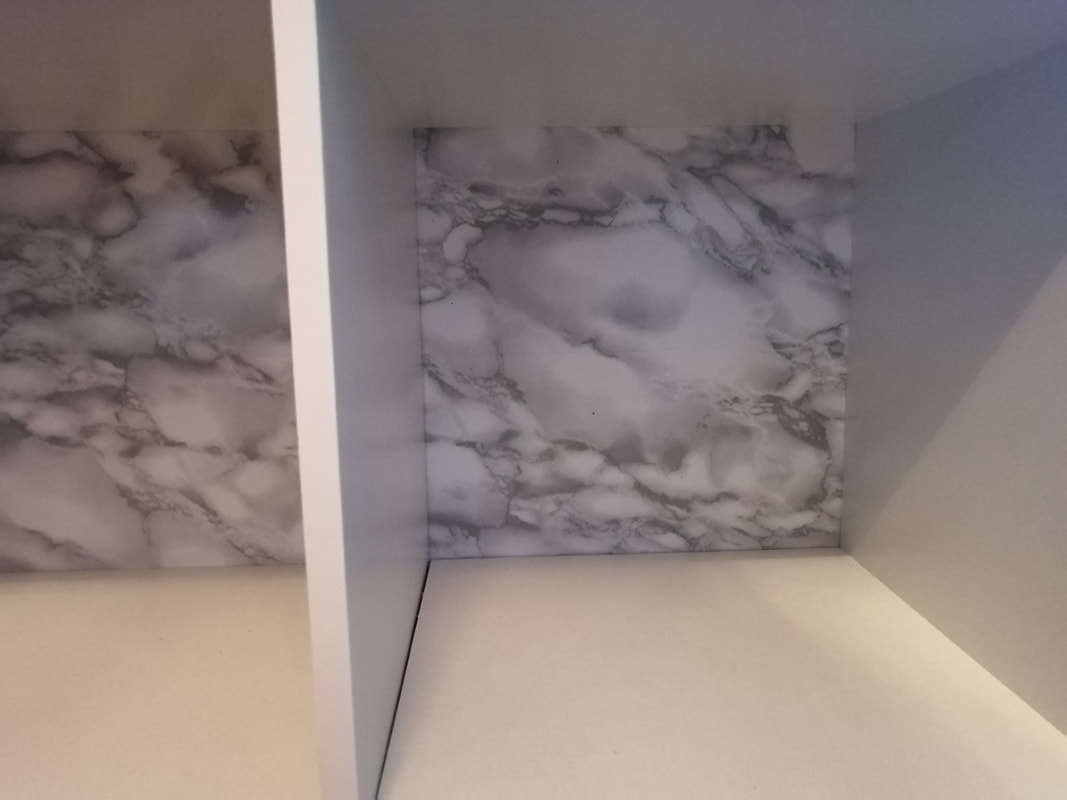
Adhesive shelf liner rolls - I used 3 rolls of marble design - I got mine at the Dollar Store
Table runner - I got mine at the Dollar Store in the craft isle
Cup of tea and some snacks :)
Treat for your dog :)
Tools I used:
Drill and bits for screws
Hammer for dowels for cube installation
Screwdriver
Assembly:
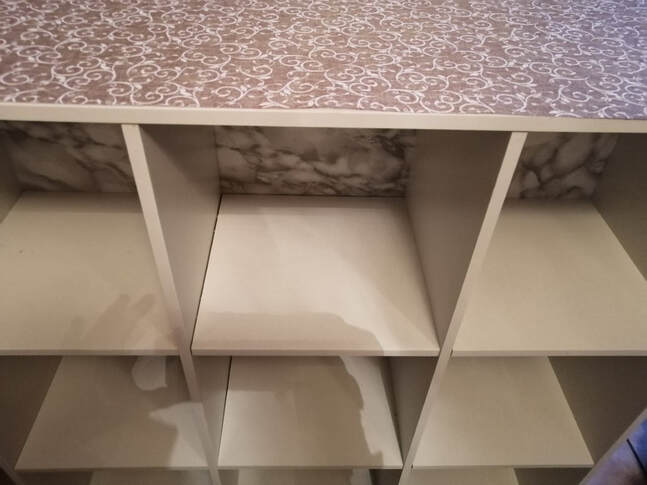
1. Assemble the cube as per instructions in box. Before you install the back panels, put the adhesive liner paper on them and then nail them on the back of the openings per the instructions. I made extra panels from the cardboard box the cube came in to add extra stability. Make sure your design is installed the same on each cube opening so it will all look the same when you are done.
2. Wheels - install the wheels on the bottom of the cube. Ensure your screws are not too long to go through the cube to the other side.
3. Handle - drill holes for the handle on the side of the unit. I put mine in the middle of the side of the cube so it will move around easily.
4. Finishing Touch - add the table runner on top. You could also put marble design on the top if you prefer instead. Add your items in the cube openings.
You are done, roll your unit where you want it to go.
You can do this too!
Cheers,
Lisa
Maria Lisa Polegatto
marialisapolegatto.com
9 cube organizer - I got mine at Canadian Tire on sale, love sales :)
Wheels - I used 4x 2" swivel rubber - I got mine at Home Depot
Handle to pull the unit - I got mine at Home Hardware on sale :)
Screws to install wheels and washers if necessary - I got mine at Home Hardware
Adhesive shelf liner rolls - I used 3 rolls of marble design - I got mine at the Dollar Store
Table runner - I got mine at the Dollar Store in the craft isle
Cup of tea and some snacks :)
Treat for your dog :)
Tools I used:
Drill and bits for screws
Hammer for dowels for cube installation
Screwdriver
Assembly:
1. Assemble the cube as per instructions in box. Before you install the back panels, put the adhesive liner paper on them and then nail them on the back of the openings per the instructions. I made extra panels from the cardboard box the cube came in to add extra stability. Make sure your design is installed the same on each cube opening so it will all look the same when you are done.
2. Wheels - install the wheels on the bottom of the cube. Ensure your screws are not too long to go through the cube to the other side.
3. Handle - drill holes for the handle on the side of the unit. I put mine in the middle of the side of the cube so it will move around easily.
4. Finishing Touch - add the table runner on top. You could also put marble design on the top if you prefer instead. Add your items in the cube openings.
You are done, roll your unit where you want it to go.
You can do this too!
Cheers,
Lisa
Maria Lisa Polegatto
marialisapolegatto.com
  |   |