 |  |
by Maria Lisa Polegatto September 22, 2023
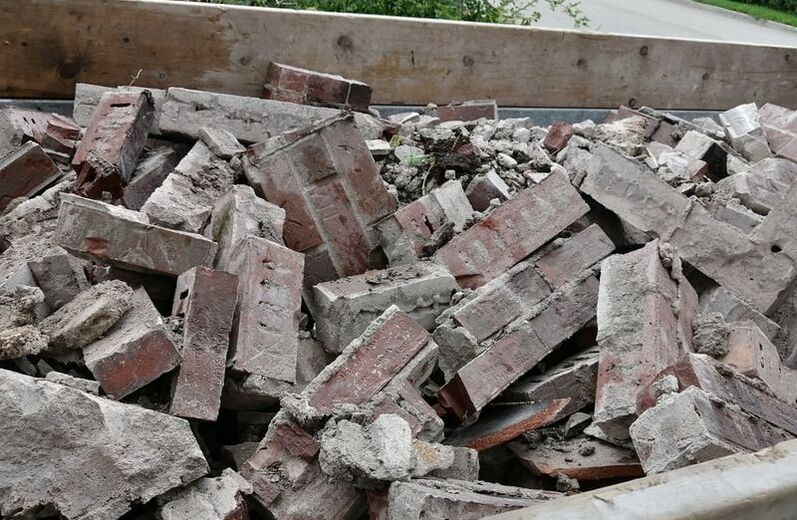
In Fiona Hurricane (2022) my chimney was damaged due to the high winds. It was just replaced and it looks beautiful again. I'm so happy it is back in great condition.
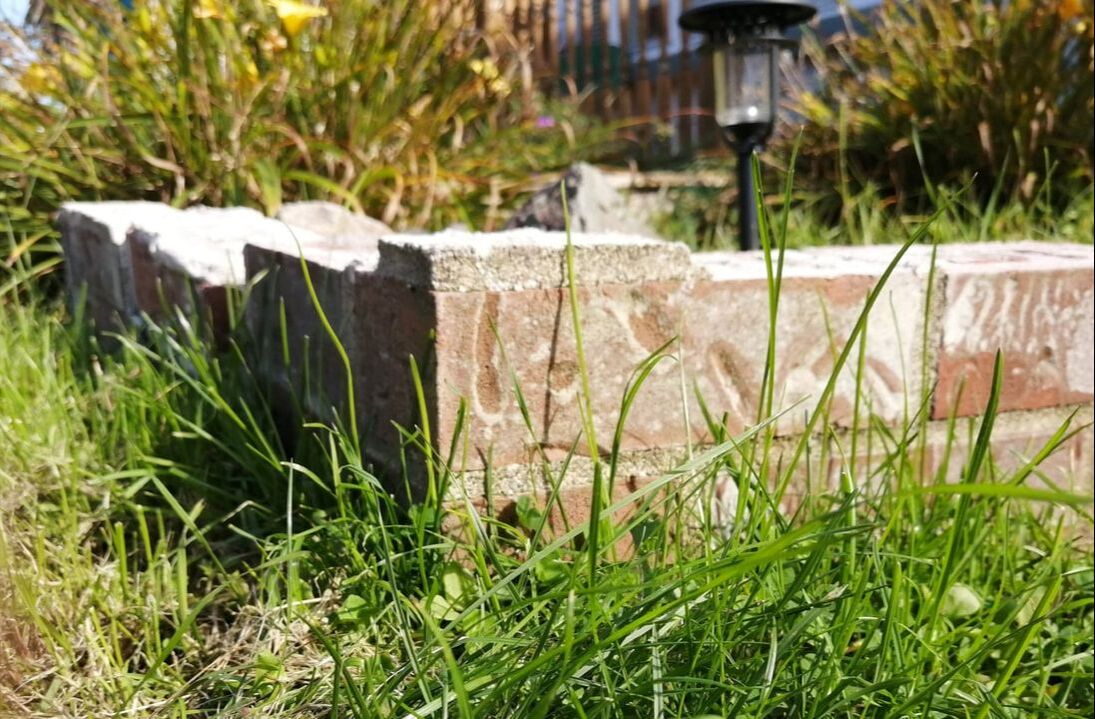
With keeping sustainability in mind, I pulled out some of the bricks that were reusable from the tear down to use around my property. They make great additions to flower beds, walkways and art. There is no need to throw out perfectly good materials to the trash when they can be reclaimed and used. I do need to chip off the old cement but I love the look of these bricks.
Recycle, reuse and create art whenever you can :)